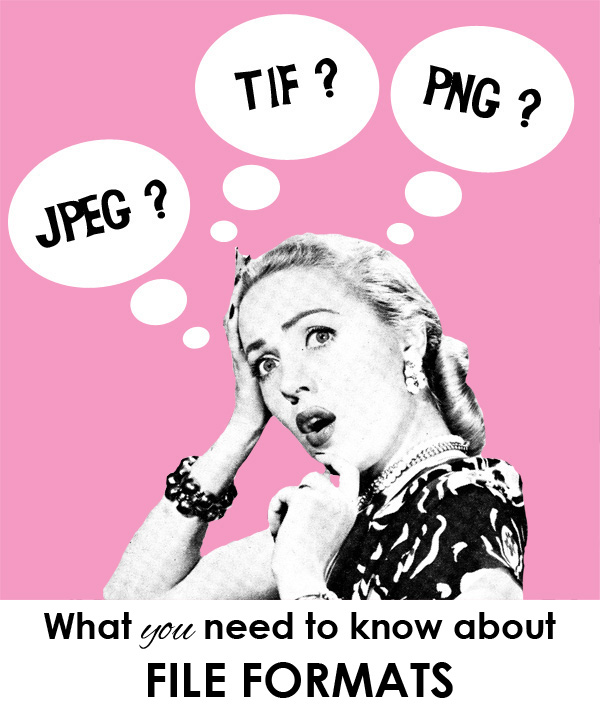
There are a gazillion articles on the internet that explain all the gory details of photo file formats. But we know you don’t have time to read all that stuff, and probably aren’t interested in compression algorithms anyway.
So, if you are in the midst of collecting and scanning photos, creating a family history book, or just trying to get them organized, here it is in a nutshell:
SCAN TIF FOR PRINT wherever possible. TIFs are the highest quality, and the biggest file size. If you ever want to use any of your photos in print (like in a book or to hang on the wall), our recommendation is to scan your originals as .tif (or .tiff) files. They are uncompressed, which means you get to keep all your pretty pixels and won’t have to see artifacts (blocky or jagged edges) in your printed photos.
JPEG IS FOR WEB USE. Jpegs are compressed files, which means they are smaller and will load faster for electronic uses, like the internet, email, etc. If you are only ever going to use your photos for a website, period, jpeg is your baby.
“What about my digital camera/cell phone photos, you say? They come as jpegs.”
There is nothing wrong with a jpeg photo, if properly used. Here are the rules of JPEG:
Always capture (take the picture), save, or scan your photo on the MAXIMUM or highest quality setting, if you might ever want to print it. Anything smaller may look great on a computer screen but will look fuzzy or blocky when printed.
Don’t edit and re-edit a jpeg. If you want to edit your photo—autocorrect the color, crop, draw on a mustache, whatever—saving and re-saving your jpeg will compress (degrade) the image each time. If you are going to edit a photo, make a TIF copy and then edit it. Then you can save a copy of the edited TIF as a JPEG for web use.
OUR RECOMMENDATIONS:
Scan as TIF, or at least a maximum quality JPEG if that’s all your scanner will do.
Capture as maximum quality JPEG. Then make a TIF copy for editing.
Share (upload, email, text, etc.) as JPEG. After you have a high-quality TIF scan or maximum JPEG capture, then make a smaller JPEG copy to upload to your family blog, Facebook, Ancestry.com or Family Search, etc. (With most photo-editing software, you can convert a whole folder of photos from TIF to JPEG in one fell swoop.)
What about PNG files? PNGs are usually used for the web, but they can handle transparency (dropping out a background, etc.). Don’t scan photos as PNGs if you ever want to print them, as they can sometimes cause problems with print drivers. Scan as TIF and then make a PNG copy if you need one.
That’s it! Any questions?


