I'd love to be able to draw well. (Alas, not one of my natural talents, although if I took the time I'm sure I could improve.) Because if I could, I would make a graphic novel about some of the stranger episodes of my life.
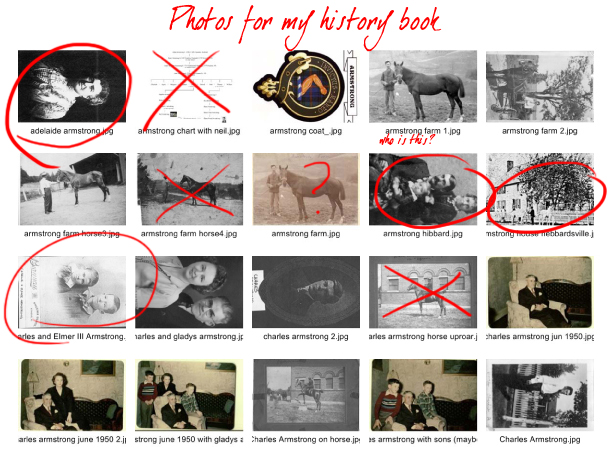
Read moreThe easy way to print a contact sheet of photos in Windows
Here's an easy way to print a contact sheet (or index print) of photos without any special software.
Have you ever thought how handy it would be to have a printout of itty-bitty pictures, with their filenames, of all the photos in a particular file? Contact sheets can be a big help in keeping track of what photos to use in a life story or family history book/project. Even though I have my photos pretty well organized on my computer, I like to have stuff on a piece of paper I can scribble on.
Read moreJPEG, TIF, PNG - What you need to know about file formats
There are a gazillion articles on the internet that explain all the gory details of photo file formats. But we know you don’t have time to read all that stuff, and probably aren’t interested in compression algorithms anyway.
So, if you are in the midst of collecting and scanning photos, creating a family history book, or just trying to get them organized, here it is in a nutshell:
SCAN TIF FOR PRINT wherever possible. TIFs are the highest quality, and the biggest file size. If you ever want to use any of your photos in print (like in a book or to hang on the wall), our recommendation is to scan your originals as .tif (or .tiff) files. They are uncompressed, which means you get to keep all your pretty pixels and won’t have to see artifacts (blocky or jagged edges) in your printed photos.
JPEG IS FOR WEB USE. Jpegs are compressed files, which means they are smaller and will load faster for electronic uses, like the internet, email, etc. If you are only ever going to use your photos for a website, period, jpeg is your baby.
“What about my digital camera/cell phone photos, you say? They come as jpegs.”
There is nothing wrong with a jpeg photo, if properly used. Here are the rules of JPEG:
Always capture (take the picture), save, or scan your photo on the MAXIMUM or highest quality setting, if you might ever want to print it. Anything smaller may look great on a computer screen but will look fuzzy or blocky when printed.
Don’t edit and re-edit a jpeg. If you want to edit your photo—autocorrect the color, crop, draw on a mustache, whatever—saving and re-saving your jpeg will compress (degrade) the image each time. If you are going to edit a photo, make a TIF copy and then edit it. Then you can save a copy of the edited TIF as a JPEG for web use.
OUR RECOMMENDATIONS:
Scan as TIF, or at least a maximum quality JPEG if that’s all your scanner will do.
Capture as maximum quality JPEG. Then make a TIF copy for editing.
Share (upload, email, text, etc.) as JPEG. After you have a high-quality TIF scan or maximum JPEG capture, then make a smaller JPEG copy to upload to your family blog, Facebook, Ancestry.com or Family Search, etc. (With most photo-editing software, you can convert a whole folder of photos from TIF to JPEG in one fell swoop.)
What about PNG files? PNGs are usually used for the web, but they can handle transparency (dropping out a background, etc.). Don’t scan photos as PNGs if you ever want to print them, as they can sometimes cause problems with print drivers. Scan as TIF and then make a PNG copy if you need one.
That’s it! Any questions?
Top Ten Reasons to Convert Old Film to Digital
This week we have a guest blog post from Kristen Harding of Larsen Digital. Although we work primarily with still images in books, most of our clients have old reels of film lying around that they don't know what to do with. Here's why you shouldn't delay in digitizing your life! - Alison
We now live in a day and age where most everything is done electronically. Luckily eating is not one of those things, but that’s beside the point. This is the digital age. From streaming movies online to being able to upload pictures directly from your phone to Facebook, the need for physical film is becoming nonexistent. Those of you still hoarding photos in boxes and movie film reels in metal canisters are highly affected by this, because there is not much you can do with old film. That’s just the way the cookie crumbles. So what do you do now? Here you will find the top ten reasons to convert your old film to digital.
1- Film can easily be destroyed! Video tapes, photos, and all other formats of film are made of materials like plastic, vinyl, and metal. These substances are hugely susceptible to damage. Fire? Gone. Flood? Warped. Kids? Let’s just say your favorite childhood photo is now covered in Sharpie. Having your memories stored solely in physical form is a liability to your precious legacy.
2- The colors and dyes literally fade away. If you were to look at a negative film strip, or a reel of movie film, you would see frames of imagery. What composes this visual? Chemicals and dyes in the film that make up the subject and scenery shot by the camera. Over time these dyes fade away from the film, leaving the once vibrant coloring dull. The sooner you submit your negatives and movie film for digital conversion, the better off your end results will be.
3- Saves on space. Scanning and transferring your memories to digital saves space! I know so many people that have nooks and crannies in their homes dedicated to past pictures and videos, when that room could be used for coat closets or play areas. After the digitizing process is complete, you can then store your personals on a DVD, hard drive, or in the cloud. (Preferably all three!) Seriously. Huge space saver.
4- Good luck finding equipment to view them on! Did you know that it’s more expensive to find and buy a VHS player than to transfer nearly 10 tapes to DVD? Have you ever tried to purchase a movie film projector? Good luck with that. The machines used to view and watch old film are pretty much nowhere to be found. You will have a much easier time locating digitized images and videos on your smart device than hooking up machinery and fiddling with settings to reminisce on past days.
5- Social freedom. Once you have converted all your photos and videos you can post them on Facebook! Isn’t that what everyone is doing these days? You will have the ability to show off what a cutie pie you were on all your favorite social media sites. You can also get social with your converted film by making books of your life to show off to family and friends. Loved ones enjoy taking a glimpse into your past (especially embarrassing photos!).
6- AMAZING holiday gift! Going from film to digital makes the decision easy when pondering what to give siblings, parents, or other family members for holidays. You can make copies of all your images or videos just like that! (Snapping fingers action inserted here) From video slideshows to a custom video compilation, it is a present sure to bring lots of smiles and even some tears. Not only is it extremely affordable, it is a gift that will always be cherished and remembered.
7- Simplifies organization. Having all your memories on your computer makes it so much easier to organize! You no longer have to worry about someone getting into your photos and ruining the perfect order you had, or putting a Video Tape in the wrong labeled sleeve. Instead, you can have digital folders and subfolders to your heart’s desire. Keeping your files organized digitally can give you peace of mind knowing that it would take some really hard work to mess it up!
8- Awesome editing options. With all the apps and free editing software offered for computers and smart devices, you can truly make your images and videos unique! The digital world is here, and the resources to make your digital files that much better are right at your fingertips. Tap into your creative side and have some fun with your photos and videos.
9- View them wherever you are! With the blessing to this world of the “cloud” you can view your digitized film anywhere, anytime. So when you go to your 30-year high school reunion and you want to show off your adorable kids or sports car, you can show them with your smart device using your preferred image or video storing service. Not only is the cloud a concept of convenience, but it is also meant to help keep your files safe. We highly recommend using a cloud service for storing your images and videos.
10- Your film is worth it. Your memories only happened once, and the ones that were captured by the beloved camera should stick around forever. Your film deserves the best, and so do you. Converting your old film to digital is incredibly necessary and logical, but it’s also just the right thing to do.
Larsen Digital Services is the top film conversion provider in the industry. With experience since 1995 backing them up, they know what it takes to elevate your memories to the next level. Not only do they convert your film to digital, but they offer so many services to enhance your legacy such as video slideshows and cloud uploads. As a family run business, Larsen Digital Services is truly invested in making sure quality and professionalism come together with every frame of film.
How to Scan Photos for Print
Scanning at too low a resolution will cause your images to look pixelated in your book.
Scanning for a printed publication requires a whole different set of parameters than for use on a website or email! In helping our clients to create personal history books, the most common problems we see are due to improperly scanned photos. Here are some tips to save you the heartbreak and expense of having to re-scan photos for publication.
YOUR SCANNER SETTINGS*
* (Note: Each manufacturer’s scanner driver is different, so we can’t give exact instructions for each type of scanner. You may want to refer to your scanner’s instruction manual.)
RESOLUTION (for scanning printed photos and documents)
- Usually called “dpi” or dots per inch. This should be set at the size you want the photo to be printed, at 300 ppi. For instance, if you have a 4x6” photo, and want it to appear in your book at 4x6 inches, then scan it at 300 ppi at its original size. (This will give you an image of 1200 x 1800 pixels, or 2.16 megapixels.) If you think you might want to print your photo larger than 4x6, then scan it at 600 ppi. This will give you 2400 x 3600 pixels, or enough pixels to print a good quality picture at 8x12 (a full page for a book). You can always print a picture smaller than your original scan, but you can’t go larger without losing quality and sharpness, so make sure you get all the pixels you need when scanning. If you will be cropping the photo significantly or zooming in to a small portion of your scan, you will also need extra pixels, so scan at a higher resolution.
- Do not choose a “scan for email” option! This will scan your photo at 72 ppi, which will be too small for a good quality print. If you have a “quickscan” or automatic feature on your scanner, test the resolution before using that feature. Many of these “full auto” options automatically scan at 72 dpi. If you can’t find the resolution settings in your scanner driver, and see only qualitative descriptions such as “color print” or “medium quality,” etc., try looking in the advanced options or settings.
- More isn’t always better. Don’t be tempted to scan prints at the highest resolution your scanner permits (i.e. 1200 or 2400 dpi), unless you will be printing a billboard. The large scan files will hog memory and disk space and slow down your computer.
- Don’t try to scan slides or negatives on a flatbed scanner, unless you have a special attachment for that purpose. Use a dedicated slide or negative scanner (expensive), or have them scanned professionally (we recommend Costco – fast and inexpensive). 35 mm slides or negatives, because of their small size, need to be scanned at at least 3600 ppi. If you are having a service scan your slides, be sure to ask that they be scanned at the highest resolution available.
FILE FORMAT
- This refers to the extension that comes after the filename (such as .jpeg, .tif, .png, etc.), and is determined when you save the scan. For print purposes, save your scan as a TIFF (.tif) file. This will give you the best quality and color fidelity, and will allow you to later edit the photo without losing quality. (PNG is also acceptable, but we’ve experienced compatibility problems with PNG files at times, so use TIFF if it is available.) Don’t save photo scans as a GIF or BMP (bitmap), which have limited color pallettes.
- If your scanner will not allow you to save your scan as a TIFF (unlikely), save as a JPEG at the highest quality level (see "Compression" below.)
- JPEG is a “lossy” file format, which means that it compresses the file (and throws away data) when saving. If your file is repeatedly opened for editing and re-saved, it will lose quality each time, causing blocky artifacts and color shifts. JPEG is good for web use, but not optimal for printing!
- After you scan your beautiful high-resolution TIFF files for inclusion in your book, you can copy your whole file and save the copies as lower-res JPEGS for uploading to family history websites, etc.
COMPRESSION
- If you MUST save a scan as a JPEG: Make sure you choose the absolute highest quality, or the least amount of compression. If you have quality settings (low, medium, high, maximum, etc.), choose the highest available. If you have a 1-12 slider, choose 12.
- Do not repeatedly edit a JPEG file. If you need to make changes (color correction, etc.), make a TIFF copy of the original scan (or PSD if you’re using Photoshop) and edit the copy. Editing and re-saving a JPEG file can cause artifacts and color shifts.
CROPPING
- Most scanners allow you to draw a marquee in a preview scan to select the boundaries of your photo. Try to crop out the unwanted rough edges of your photo using this marquee while scanning. This will make it easier and faster to work with your photos later during the layout stage.
AUTO CORRECTION
- Most scanners allow you to correct color, contrast, etc. while scanning. This can be a valuable time saving tool if your scanner handles this well; but it can be a disaster if your scanner’s auto correction capabilities are less than stellar. Practice on a few scans to get a feel for how they look with the auto correct on. Make sure it’s not blowing out the highlight detail, or making shadows too dark, because you can’t get those back later in your photo editing software if they are lost in the scan.
- If in doubt, leave the auto correct tools off. You can always tweak photos later in photo editing software, or have your graphic design professional optimize the photos before layout.
WHITE GLOVE TREATMENT
- Now that your settings are correct, make sure you clean dust and hairs from the photo itself using a dry microfiber cloth.
- Clean the glass after each scan using a dry microfiber cloth. If there is something sticky on your glass, dampen the cloth slightly with water or windex. (If your “glass” is actually acrylic, don’t use windex.) DO NOT SPRAY ANYTHING ON YOUR SCANNER GLASS, EVER!
CONCLUSION: If you take care to get the scanning right the first time, you will save yourself the enormous frustration of having to re-gather and re-scan your photos, and/or the cost of having to hire a professional to re-do your scans.
© 2010 Tom and Alison Taylor, Pictures and Stories, Inc.


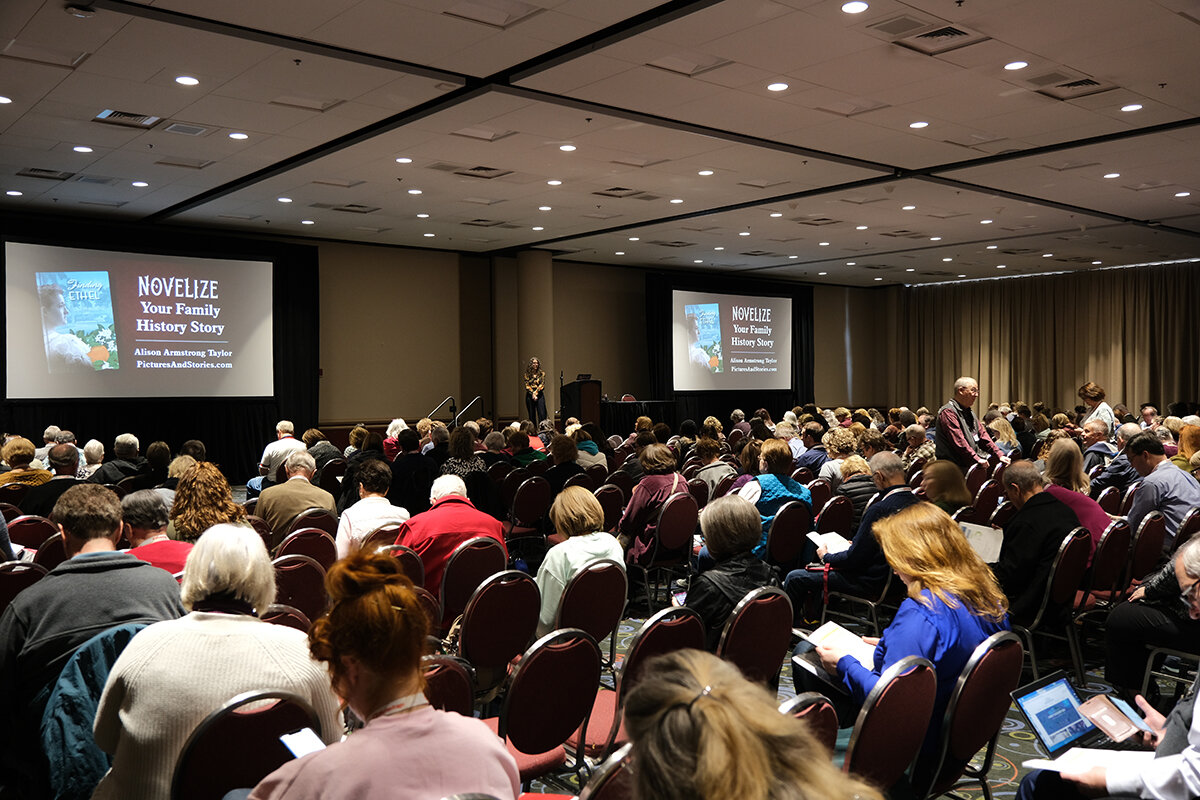
We are so excited to be back at RootsTech live this year! Come by and see the Pictures and Stories booth (#1609) and see some of the many new books we’ve helped our clients create. Alison is giving two in-person classes: The Seven Deadly Sins of Building a Digital Archive, and Making a Genealogy Story Book. Hope to see you there!